Take a look in your closet and find your favorite pair of running shorts, or a pair of leggings, or your trusty rain jacket. Odds are, there's branding somewhere on the garment. Throughout the years, branding has become more and more prevalent as a main feature on clothing, with much of streetwear and independent apparel brands using it as the core design of their pieces. However, there is a multitude of placements for this type of branding, much of which is difficult to achieve one way or another. Because of this, it is vital for us, whether we are apparel decorators or clothing brand owners, to know how to achieve these specific placements in the most efficient way possible. That way when an order comes in requesting this type of decoration, you don't have to think twice about accepting it! Enter in: Direct to Film transfer and the Face Mask Kit for Heat Press.
To demonstrate how we used DTF transfers for apparel branding, we will be using a pair of polyester/nylon/elastane board shorts for this project.
For a full breakdown on how to print DTF transfers in your shop, click here.
Getting the Artwork Print-Ready
If you have multiple artworks, or multiple versions of an artwork, you want to print as many as possible on one film. To do this, it is essential to set up the canvas in your digital design program at the size of the film you're using and then place all artworks on the canvas before exporting and opening in Garment Creator. The artworks we are using will be for two different placements, and for multiple colorways of clothing, so we've set them up as such on our canvas.
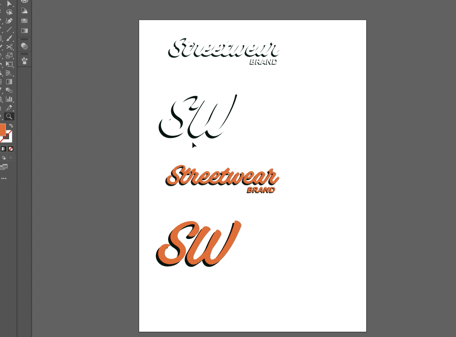 And to ensure we achieve optimal use of our film, we rearranged the artworks to fit better on to the negative space. It is okay to place your artworks close together, as you will be cutting them out later.
KEY TIP: If you do not fill the entirety of your film's space once you have all necessary artworks in place on your canvas, space them as such to utilize as little area as possible, as shown below. When you cut out the artworks later, you can keep the unused film piece to print on later. Doing this saves supplies and cost!
With apparel branding, it is usually a small logo or label you will be using. DTF is perfect for this because you can fit a large amount of these small artworks on one film, and you only have to print them out once. Thus, you save valuable production time and can get the job done faster and more efficiently, without compromising the quality of the job.
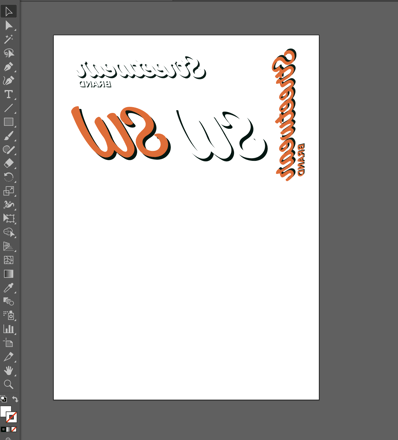
Once the artwork is in place, ALWAYS reflect the entire canvas. Because DTF requires the artwork to be printed in reverse order, reflecting the artwork ensure it will be the right orientation when the transfer is pressed. Then, you can export your canvas and open it up in Garment Creator. Now, you're ready to print your transfers!
To learn how to print and prepare your DTF transfers, check out our video blog post that outlines exactly how to do this here!
Loading the Shorts on the Face Mask Kit for Heat Press: Thigh Placement
To do this project, we are using the Face Mask Kit for Heat Press! The Face Mask Kit's interchangeable Top Plates allow for easy isolation of your print space, which means we will be able to isolate the area on the shorts' leg opening and back pocket where we want to apply our transfers. For the first transfer, we are using the 3x6 Top Plate and Hoop.
- Place the Setup Station on a flat, solid tabletop and clamp it to the surface with the C-clamp included in the Kit.
- Place the Face Mask Platen with the 3x6 Top Plate attached on to the Setup Station.
- Slide the leg opening of the shorts over top the 3x6 Top Plate and hold in place with the corresponding 3x6 Hoop.
- Place your heat transfer in its intended placement and tape it down with heat transfer tape.
- Remove the loaded platen from the Setup Station and place it on the Heat Press Adaptor.
- Heat press the transfer on to the shorts according to your heat press or transfer film's suggested time and temperature settings.
The settings we used are 300F for 40 seconds. - After pressing, remove the loaded platen from the Heat Press Adaptor and replace back on to the Setup Station. Allow the transfer to cool for about 30 seconds.
- Once the transfer has cooled, peel back the transfer film in one nonstop motion.
Loading the Shorts on the Face Mask Kit for Heat Press: Back Pocket Placement
- Switch out the Top Plate on the Face Mask Platen from the 3x6 Top Plate to the 3x4 Top Plate and corresponding 3x4 Hoop by unscrewing the two screws on the back of the platen and replacing securely.
- Place the platen on the Setup Station.
- Slide the waistband of the shorts over the platen and lay the back pocket of the shorts on the 3x4 Top Plate and secure it down with the 3x4 Hoop.
- For this placement, we decided to place the platen on the Heat press Adaptor before taping our heat transfer in place, but it is up to your personal preference to do it either on the Setup Station or on the press.
- Once the transfer is in place, press the transfer and apparel according to your desired time and temperature settings.
- After pressing, let the transfer cool for 30 seconds as before, and then peel back the film in one nonstop motion.
KEY TIP: Because you are using heat, the Top Plates' Hoops may leave indentations and creases in the apparel. Pressing the apparel area after peeling off the film will remove any creases AND get rid of marks from excess adhesive powder.
Ta da! Your branded shorts are now complete!
To learn how you can use DTF for your print on demand print shop or clothing line, check out this blog post!
Products Used in this Project:
Want to See More of These Products in Action? Schedule a Demo Session with Us!
Are You Signed Up for our Newsletter? Subscribe HERE for a Special Discount!
-------