The Face Mask Kit for Heat Press is capable of decorating everything from face masks, to neck tags, short sleeve cuffs, bucket hats, fanny packs, and much more, of many kinds of fabrications! The Face Mask Kit for Heat Press is compatible with Stahl's Hotronix Heat Presses, and includes the following contents:
- (1) Face Mask Platen + 3x6 Hoop
- (1) 2.5x5 Top Plate + 2.5x5 Hoop
- (1) 3x4 Top Plate + 3x4 Hoop
- (1) Heat Press Adaptor - for Hotronix Heat Presses
- (1) Tucker
- (1) Set Up Station
- (1) C-Clamp
Click here to view the full product page!
Setting up the Setup Station
The Setup Station is used to load the Face Mask Platen with the apparel before placing the platen on the Heat Press Adaptor. You do not have to use it every time you load the platen, however, depending on the apparel you are decorating. But, most apparel types will be most successful when loading on the Setup Station first. It makes the process quick, efficient, and effective.
- Place the Setup Station on a flat, stable tabletop
- Use the C-clamp to secure the Setup Station to the tabletop's surface
- Place the Face Mask Platen on the Setup Station by matching up the pegs on the back of the platen with the slots on the surface of the Setup Station
- The Setup Station is ready to use!
Setting Up the Heat Press Adaptor
The Heat Press Adaptor is how you turn your heat press into a machine capable of decorating so much MORE than ever before! The Heat Press Adaptor comes in each of our Heat Press Kits, and has the ability to take all our specialized platens, as each one is transportable. To install the Heat Press Adaptor:
- Remove your Heat Press's standard base
- Replace it with the Adaptor in the same spot
Installing and Changing Out the Face Mask Platen's Top Plates
Each Face Mask Kit comes with three different sizes of Top Plates to cater to the multitude of apparel types it is capable of decorating! The 3x6 Poly Top Plate is a hexagonal, large Top Plate on which adult-sized fabric face masks fit best. The 2.5x5 Poly Top Plate is a slightly smaller hexagonal Top Plate for decorating youth-sized fabric face masks. And, the 3x4 Top Plate is a rectangle Top Plate for decorating on the panels of center-seam face masks. Each Top Plate can also be used to decorate various other types of apparel outside of face masks! And, each Top Plate also comes with a corresponding Hoop of the same dimensions for securing down the apparel on to the Top Plate itself. To change out the Top Plates:
- Unscrew the two screws on the back of the Face Mask Platen and take the Top Plate off, this can be done with a Phillip's head screwdriver or a drill
- Replace it with the Top Plate you want to use by aligning the holes for the screws with the holes on the back of the platen, the Top Platen and platen should fit together like puzzle pieces
- Screw the small screws back in to the holes and it is set for use
Loading the Face Mask Platen
- Lay the face mask over top of the Top Plate, centering it in the middle of the Top Plate
- Depending on where you want your print to land, you may choose to either center that area
- Once the face mask is set, place the corresponding Hoop of the same size Top Plate around the Top Plate to secure the face mask down
- Once the face mask is loaded, remove the Face Mask Platen from the Setup Station and place it on the Heat Press Adaptor
- Place your transfer in its intended placement
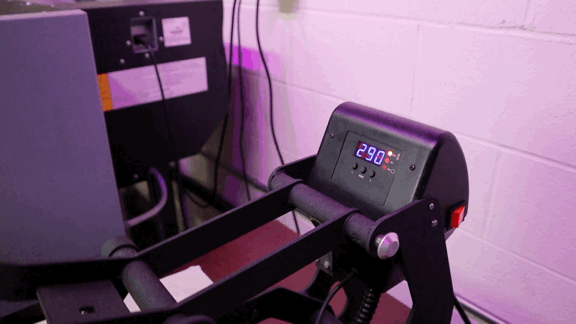
- You are now ready to press according to your transfer's suggested time and temperature settings
After Heat Pressing
- Remove the Face Mask Platen from the Heat Press Adaptor and replace on the Setup Station
- Remove the corresponding Hoop and the face mask is done!
Now that you know how to use your Face Mask Kit for Heat Press, check out how to make YOUR OWN DTG transfers here!
Have Questions About Your Kit? Schedule a Virtual Meeting with Us!
Are You Signed Up for our Newsletter? Subscribe HERE for a Special Discount!
-------