One of the trickiest aspects of DTG is knowing how to aim your prints. A standard t-shirt platen relies mainly on measurement or estimation in terms of where your artwork placement will translate from the printer's software to when it is printed. And, what if your artwork is smaller, and does not fill the majority of the platen's available print space? The guess work can be even more challenging. And, wasted apparel from misprints can have a hefty impact on your production costs, fulfillment times, and your shop's overall growth. Have no fear, though, the Face Mask Kit is here to save the day! In this project, we will break down for you how to place your prints perfectly with the Face Mask Kit!
To learn how to set up and use your new Face Mask Kit, click here!

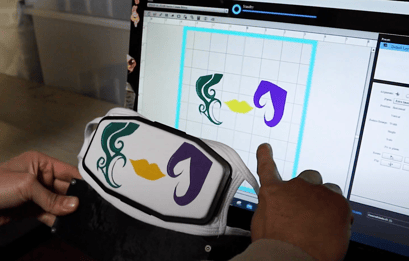
A small-but-mighty feature of the Face Mask Platen (and all KPC Platens!) is that it has squares all along its surface, creating a grid pattern. While it does add to the overall sleekness of the platen, these square also, in fact, serve a purpose. Each of these square are a square inch-- you can think of them as measuring units. And, they happen to correspond perfectly with the grid in your printer's graphics software. We use our Epson F2100 for our DTG needs at KPC HQ, so for this project, we will be using Garment Creator.
Matching Up Your Face Mask Platen with Your Software
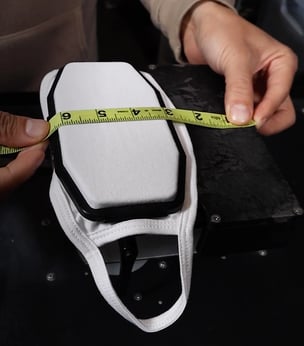
As displayed in the video above, the 7x8 platen preset matches up perfectly with the measurements on the Face Mask Platen. When the Face Mask Platen has the 3x6 Top Plate attached, the overall print surface area is 3x6, and the bottom of the Top Plate rests three inches from the bottom of the platen itself. Thus, when you open your artwork in Garment Creator, you are able to count three inches up from the bottom of the 7x8 setting, and that line will be the marker for the furthest down your artwork can be placed to still land on the Top Plate's print surface area.
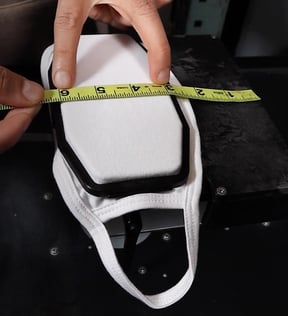
Taking into consideration that the width of your print surface area is 6 inches, this would also mean that if you measure 3 inches to the left and right of the center line of your software's grid, you will not wear the risk of placing your artwork over the bounds of the print surface.
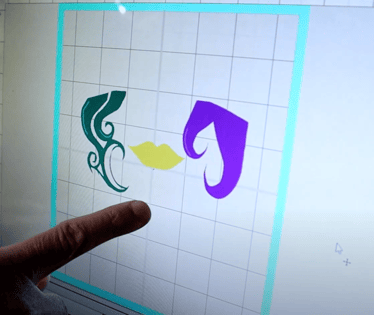
In the video, we chose an artwork to test the grid for 1:1 accuracy. We created to fill up as much of the available print space as possible, and then measured using the platen's grid by placing the artwork in the software 3 inches up from the bottom (or three squares), no further than three inches left or right from the center line, and only within the 3 squares (3 inches) from the bottom line of where the available print space begins.
Then, we hit print, and there it was! A perfectly-placed print that we did not have to spend any time estimating or second guessing. In no time, we had four face masks with prints placed exactly where we wanted-- no misprints, no mess-ups, and no problems!
And did we mention the Face Mask Kit can print MUCH much more than just face masks?! Click here to check it out now!
Products Used in this Project:
Want to See More of These Products in Action? Schedule a Demo Session with Us!
Are You Signed Up for our Newsletter? Subscribe HERE for a Special Discount!
-------