The Face Mask Kit Single Station is our screen print-compatible Kit for printing face masks, neck tags, hoodie hoods, bucket hats, sleeves, and much more! The Face Mask Kit Single Station contains:
- (1) Face Mask Platen SP + 3x6 Hoop
- (1) 2.5x5 Top plate SP + 2.5x5 Hoop
- (1) 3x4 SP top plate + 3x4 Hoop
- (1) Screen Print Bracket Adaptor (Standard or M&R)
- (1) Tucker
- (1) Setup Station
- (1) C-clamp
To view the Face Mask Kit Single Station's full product page, click here!
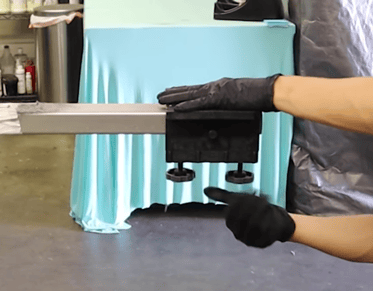
Setting Up the Screen Print Station
- Start by removing all t-shirt platen bases from your screen printing station and replacing them with the Master Brackets included in your Kit
-
- Install the Master Bracket by sliding it into place on the station (arm) and screw in the side knob first, then the bottom knobs
- Place a Captain Platen SP on each Master Bracket
Installing and Changing Out the Face Mask SP's Top Plates
The Face Mask Kit comes with three different sizes of Top Plates to cater to the multitude of apparel types it is capable of decorating! The 3x6 Poly Top Plate is a hexagonal, large Top Plate on which adult-sized fabric face masks fit best. The 2.5x5 Poly Top Plate is a slightly smaller hexagonal Top Plate for decorating youth-sized fabric face masks. And, the 3x4 Top Plate is a rectangle Top Plate for decorating on the panels of center-seam face masks. Each Top Plate can also be used to decorate various other types of apparel outside of face masks! And, each Top Plate also comes with a corresponding Hoop of the same dimensions for securing down the apparel on to the Top Plate itself. To change out the Top Plates:
- Unscrew the two screws on the back of the Face Mask Platen and take the Top Plate off, this can be done with a Phillip's head screwdriver or a drill
- Replace it with the Top Plate you want to use by aligning the holes for the screws with the holes on the back of the platen, the Top Platen and platen should fit together like puzzle pieces
- Screw the small screws back in to the holes and it is set for use
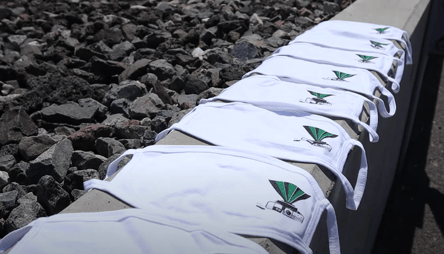
Loading the Face Mask Platen SP
- Lay the face mask over top of the Top Plate, centering it in the middle of the Top Plate
- Depending on where you want your print to land, you may choose to either center that area or set the screen accordingly
- Once the face mask is set, place the corresponding Hoop of the same size Top Plate around the Top Plate to secure the face mask down
- You are now ready to print!
Interested in our screen printing Kit for hats too? Check out this project!
Have Questions About Your Kit? Schedule a Virtual Meeting with Us!
Are You Signed Up for our Newsletter? Subscribe HERE for a Special Discount!
-------