The Captain Platen Kit Single Station is our screen print-friendly Kit for printing on the full front of unconstructed hats. The Captain Platen Kit Single Station includes:
- (1) Captain Platen + Crescent Top Plate
- (1) Setup Station
- (1) Bracket Adaptor
- (1) C-Clamp
To view the full product page, click here!
Setting Up the Screen Print Station
- Start by removing all t-shirt platen bases from your screen printing station and replacing them with the Master Brackets included in your Kit
- Install the Master Bracket by sliding it into place on the station (arm) and screw in the side knob first, then the bottom knobs
- Place a Captain Platen SP on each Master Bracket
Loading the Captain Platen SP
- Place your Captain Platen SP on the Master Bracket with the Top Plate closest to you and the locking bar pushed up and away from you and lock the platen in place by pushing the platen's side knobs inward.
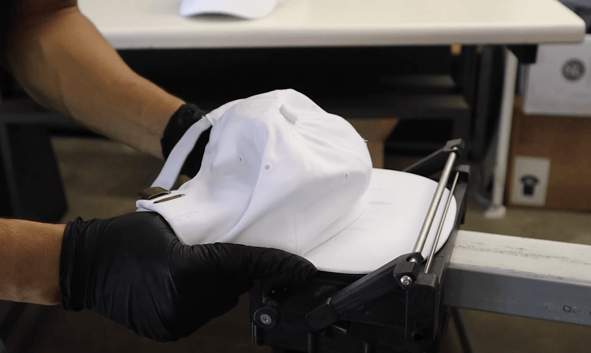
- Undo the back straps of the hat and slide the hat brim under the front bar.
- Tuck the sweatband, any tags, and all inner layers underneath the Top Plate and pull the hat toward you until it is laying flat, ensure the top of the hat brim is aligned with the top of the platen and the sides of the brim are aligned with the sides of the platen.
- Pull the hat's front panels taut and engage the locking bar by pulling it back toward you and locking it in place under the Top Plate.
- Tug at the sides of the front panels to get the surface as flat as possible.
- Now the hat is ready for printing!
Now that you know how to use your Captain Platen Kit Single Station, check out what you can do with it!
Want to See More of These Products in Action? Schedule a Demo Session with Us!
Are You Signed Up for our Newsletter? Subscribe HERE for a Special Discount!
-------